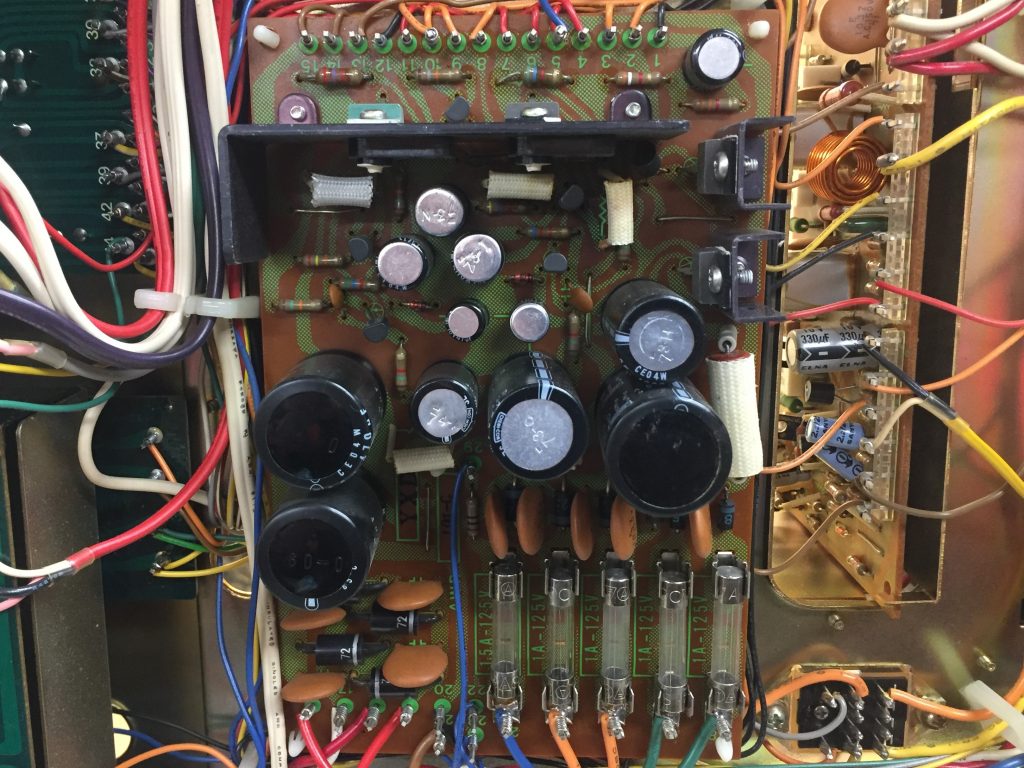
So I finally ordered and received the parts to start the restoration of the Pioneer SX-850. The picture above shows the unmodified power supply board (AWR-101) with its 43 year old (but working) caps and transistors.
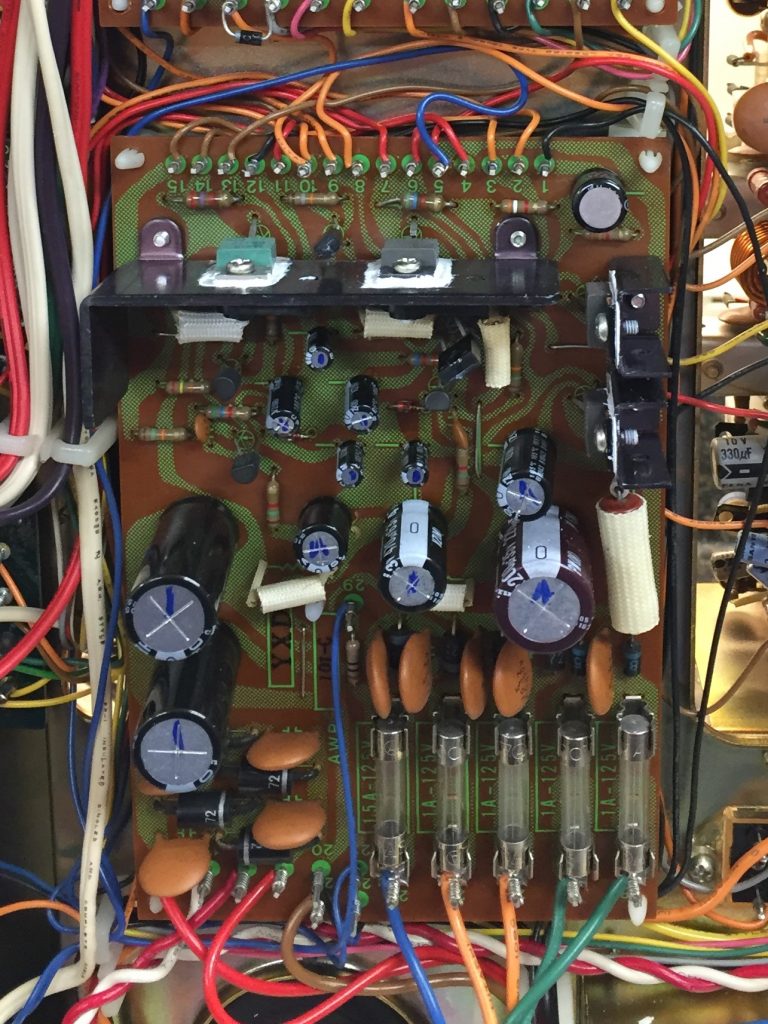
The above picture shows the “mostly” restored power supply board. I replaced all of the capacitors with new Nichicon units of equal or greater voltage rating, upgraded two transistors (Q5 & Q7) that are known to be weak, and cleaned and added new thermal paste to the transistors utilizing the heat sinks. At this point there is only one capacitor C14 that requires replacement. The BOM I utilized for my base part list incorrectly listed the value for this capacitor as 220uf @ 10v instead of the 47uf @ 25v that came from the factory. After replacing the capacitors and transistors, I tested the power supply voltages and found it to be perfect. Time to move on to the protection board.
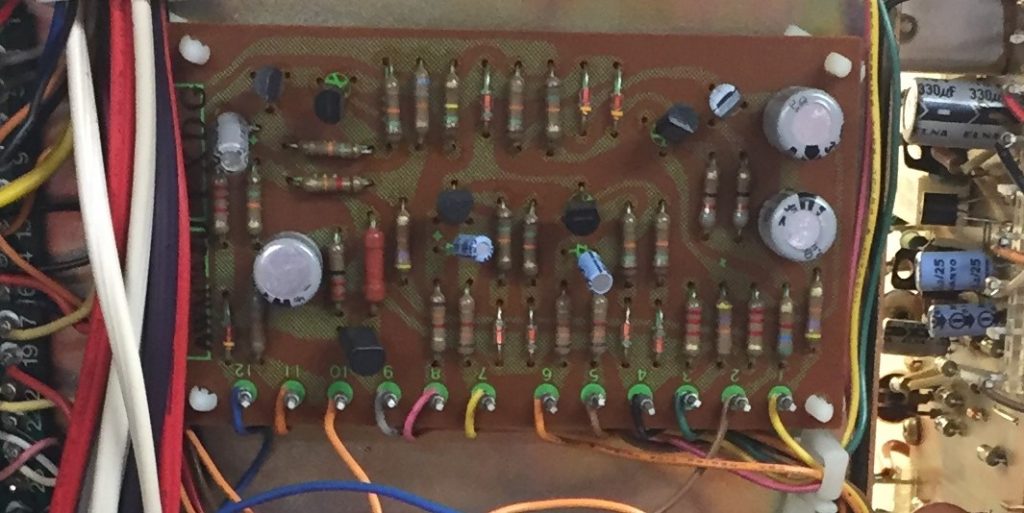
Next up – the protection circuit assembly (AWM-062) that protects the speakers and the amplifier board in the event of a short. This board controls the all important protection relay (the click that is heard 3 seconds after power up). Above you can see the stock board with its original caps and transistors. Note that all of the wire wraps are original so this board is also untouched.
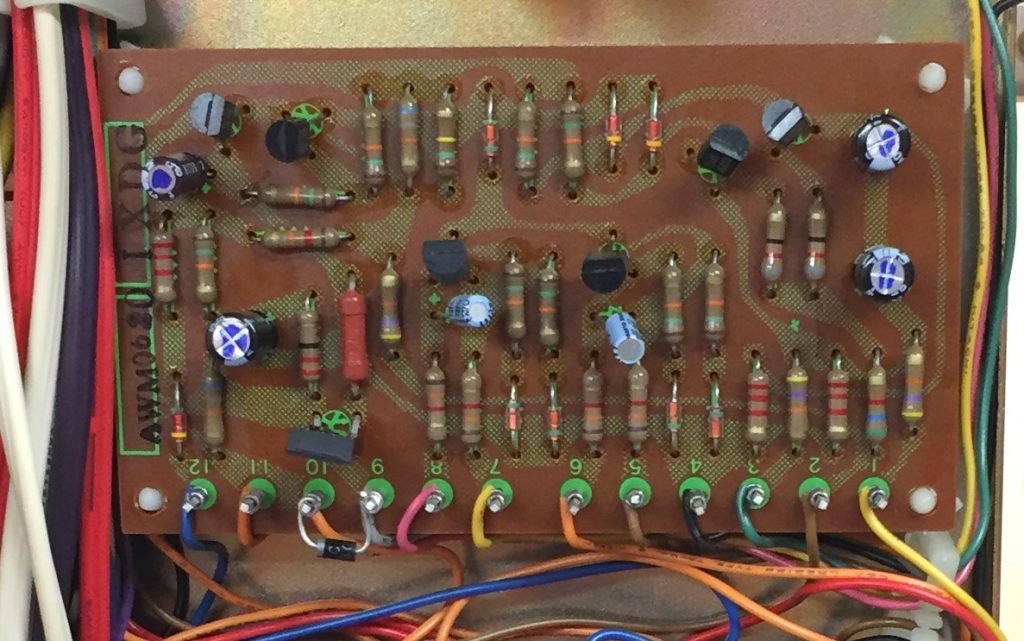
Here is the board with new Nichicon electrolytics and 2 upgraded transistors (Q6 and Q7). I also added the recommended flyback diode between pins 9 and 10 to protect the 2690AYS transistor in Q7. I am still awaiting some WIMA film caps to replace the 2 light blue caps in the center of the board.
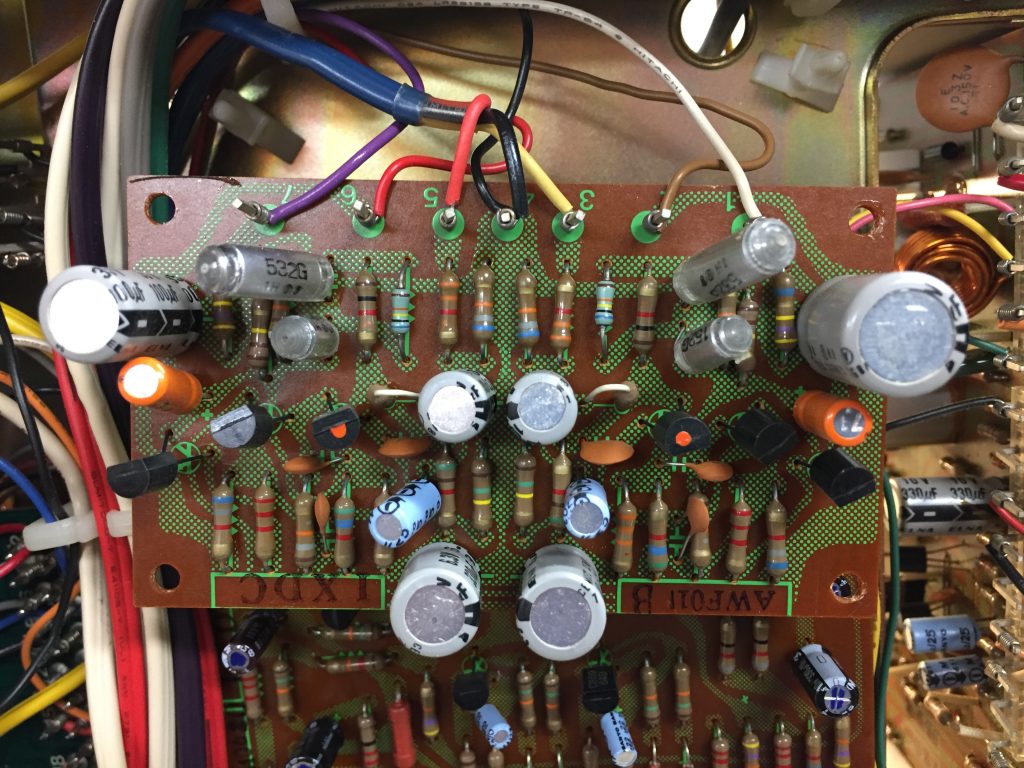
The next board to address is what Pioneer calls the Equalizer Amplifier Assembly (AWF-011). This board is responsible for amplifying the phono inputs. As with the other boards, this too remains unmolested. This is a sensitive board and those capacitors are in the audio path so I will be replacing them with Nichicon Gold audio grade capacitors.
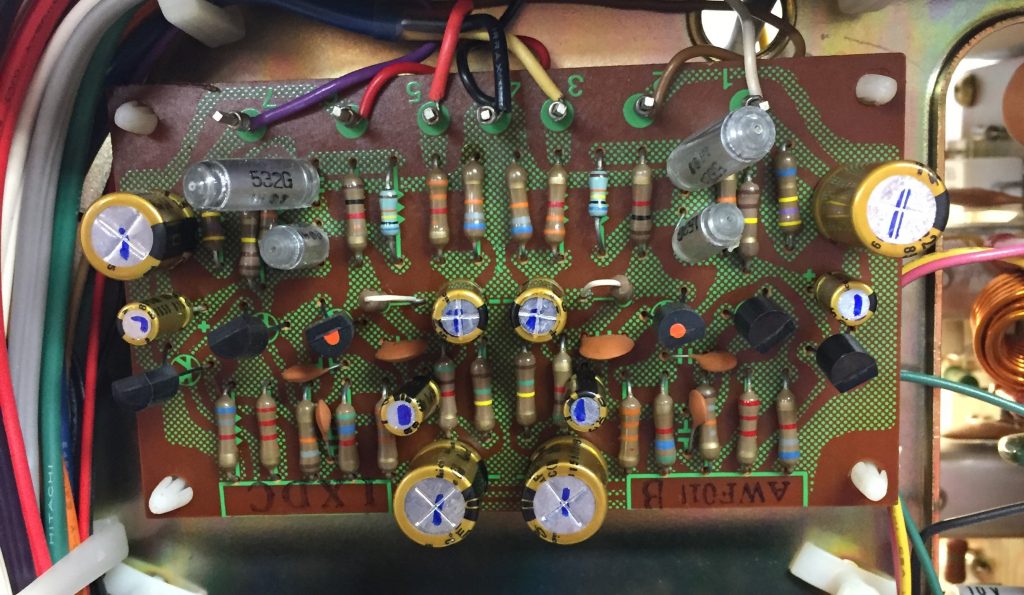
As you can see in the picture above, all of the capacitors were replaced with new Nichicon Gold series capacitors. No surprises on this one so I can officially call this board done..
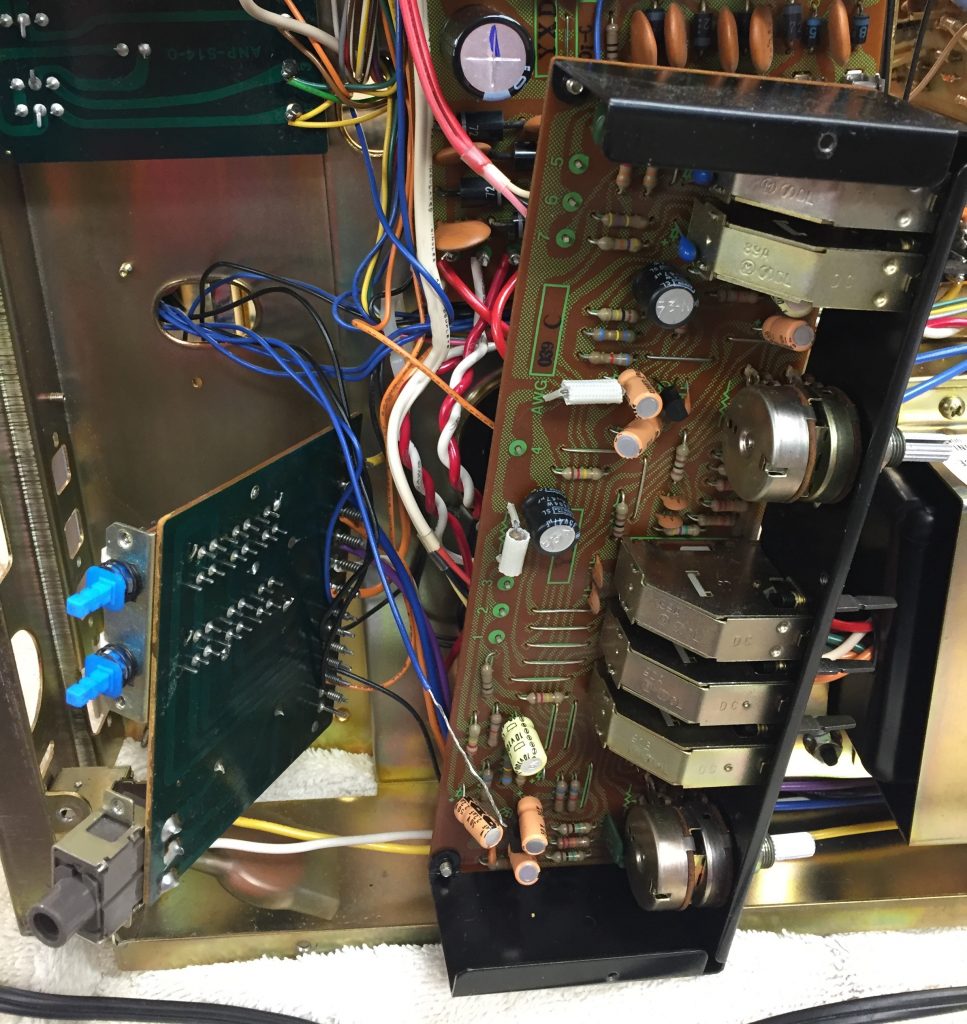
Time to start cleaning switches and POTS. I had to remove the tone control board to get access to the speaker select switch and headphone jack board. I cleaned the board and used Deoxit D5 to clean the headphone jack and speaker select switches. Although I feel like I have made some significant progress, I still have a long way to go. Stay tuned for more.
