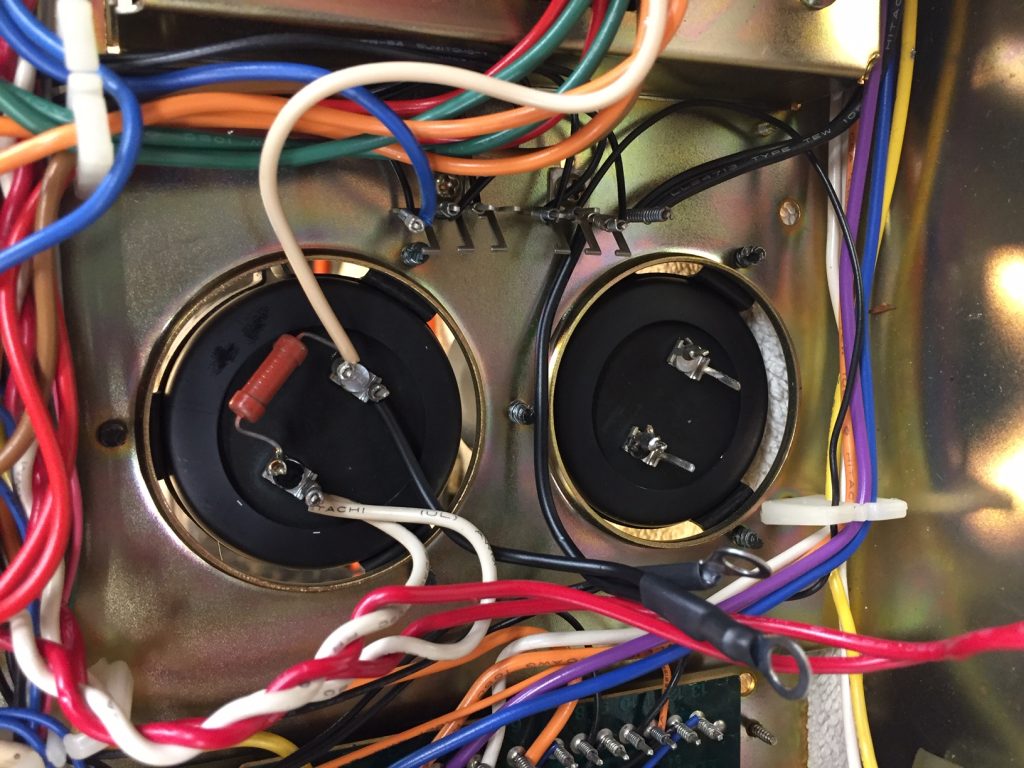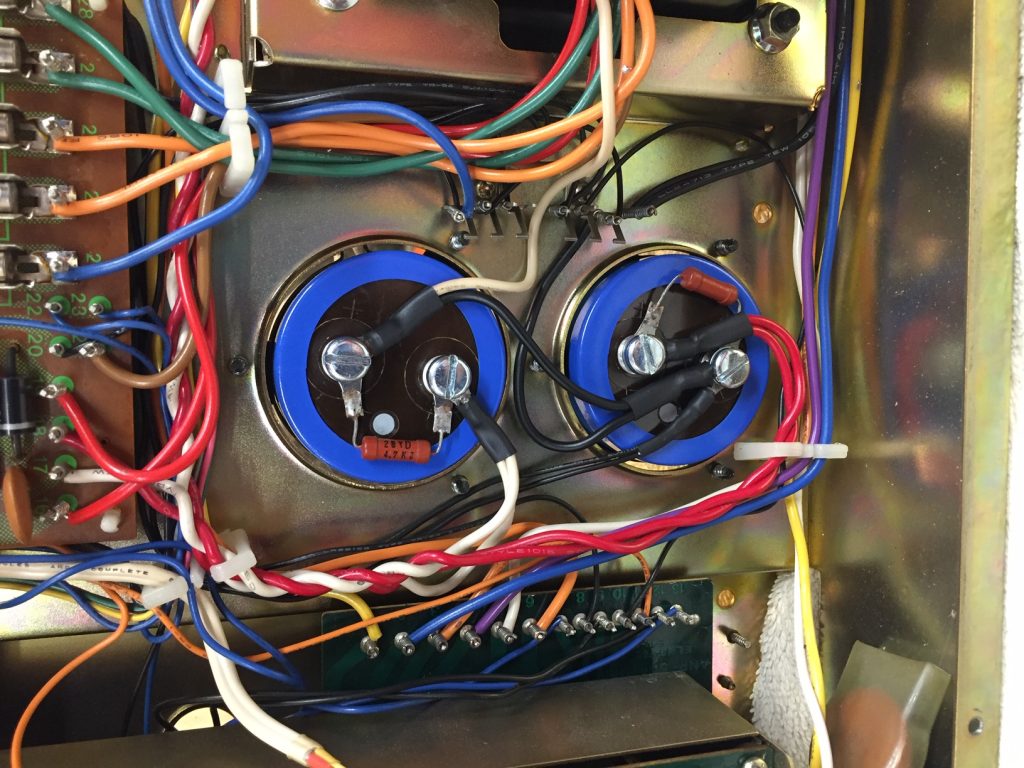
Here you can see I had already started the replacement of the main filter capacitors. The original were Nippon Chemi-Con 50v 15000uf units that were wire wrapped with soldered drain resistors. Although they tested fine I decided that since I was replacing all of the other capacitors I should also replace these. Thanks to the postings on Audiokarma I found some new Chemi-Con 75v 18000 uf units that were a perfect fit in the original brackets.

The new units utilize screw terminals so I soldered on some ring terminals to the wires and resistors. With the provided hardware this makes a very positive and nice looking connection.

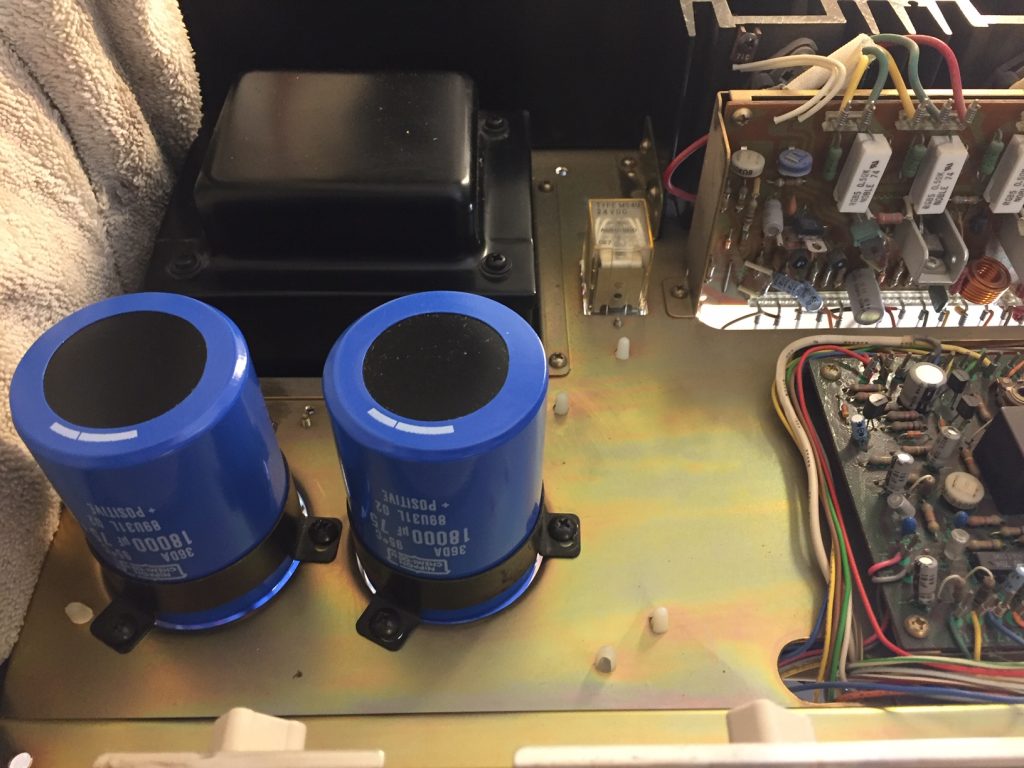
Here you can see the top sides of the new filter caps. They are a bit taller than the originals so they need to sit a little lower in the brackets so they clear the cover. After installing I again tested the power supply and it looks very good. I think this is going to be a great unit for someone once it is completed. Of course I plan to do a few weeks of burn-in within my office..
