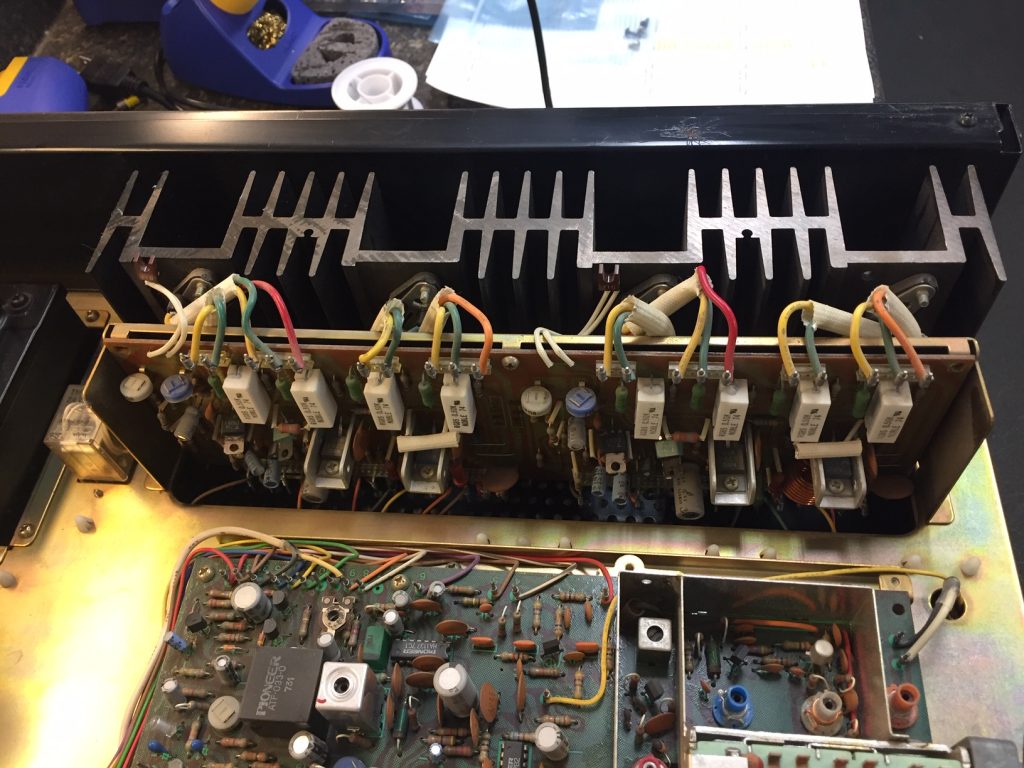
Before starting the upgrades on the power amp I first set the bias and offset and then did a quick sound check to ensure that everything was working normally and I had a good starting point. The plan on this is basically to replace all of the capacitors, clean the output transistors and heat sink and replace the bias and offset pots with new more accurate units. One thing I really love about these old receivers is the thought they gave to making them serviceable. The service manual outlines the process for disassembling the entire amp section without having to remove any of the wiring.
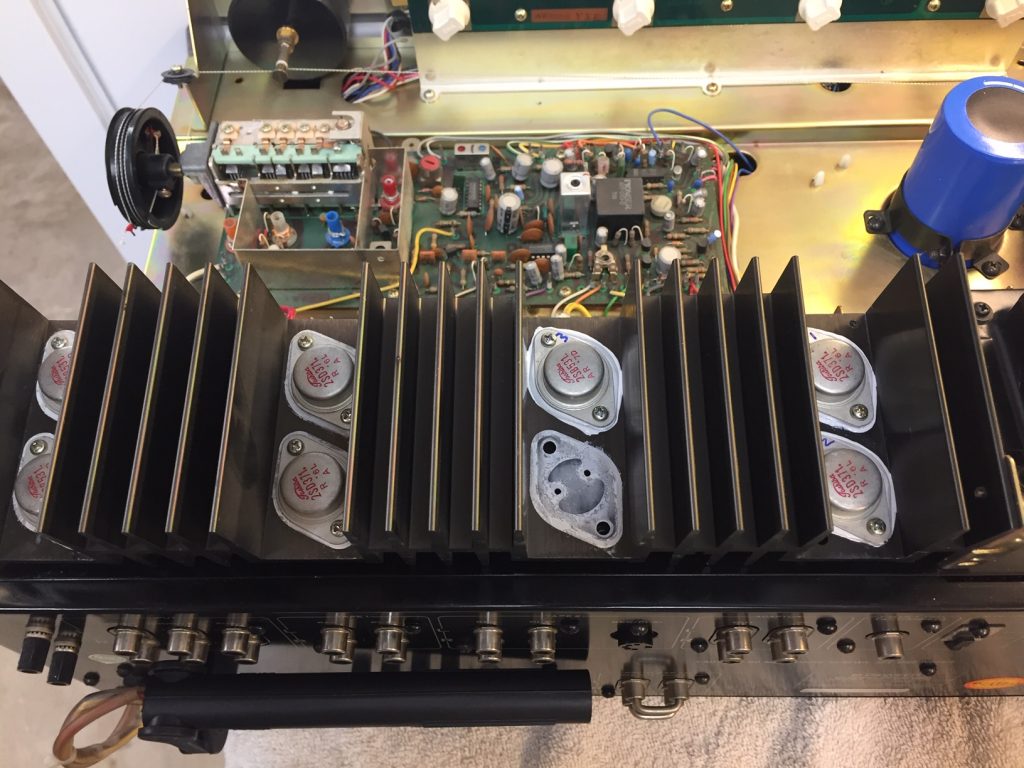
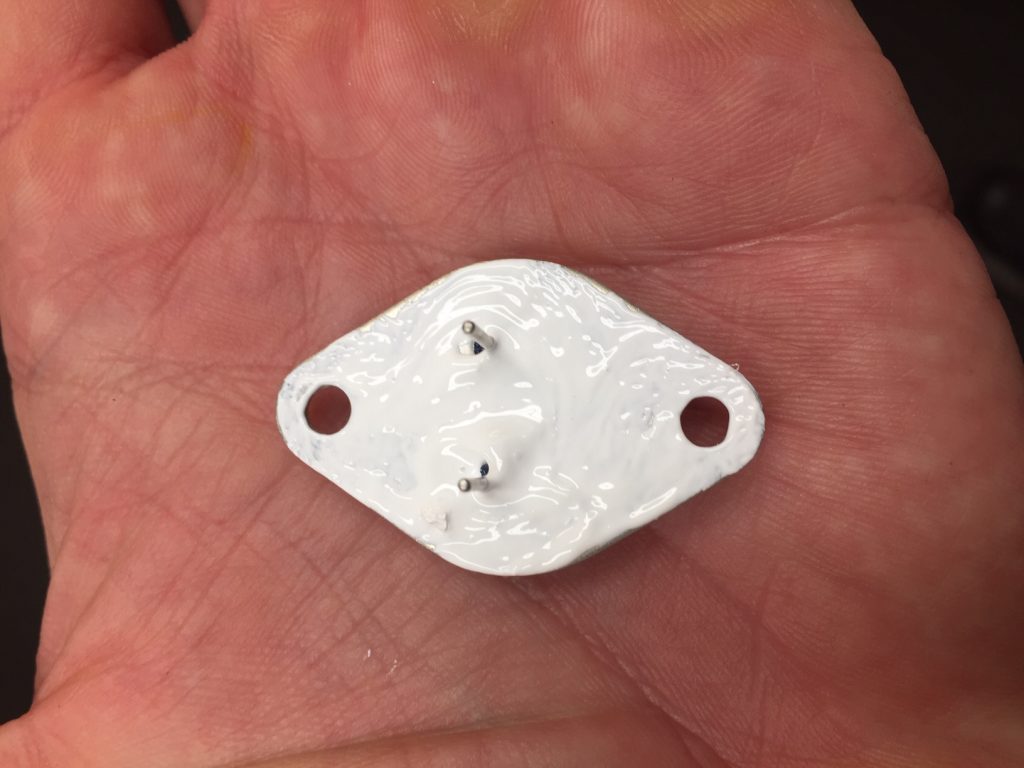
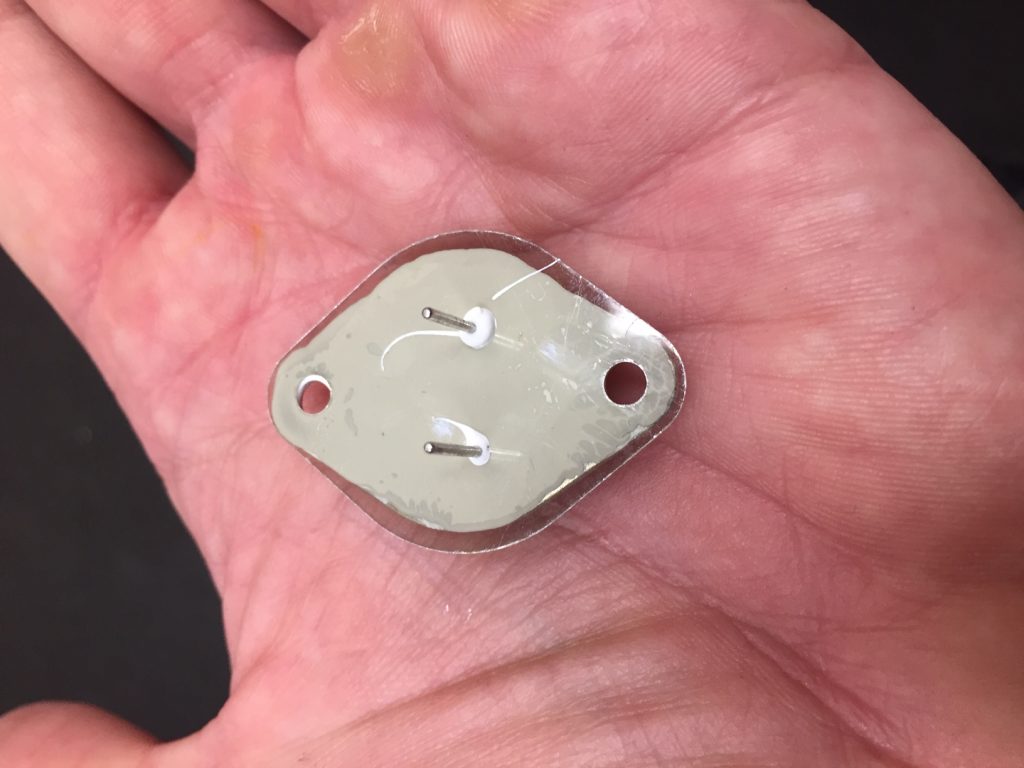
I removed each of the output transistors and removed the old and dry thermal paste. Each of these also utilized a mica insulator which I replaced. This was a very tedious exercise but it was very clear that this was needed.
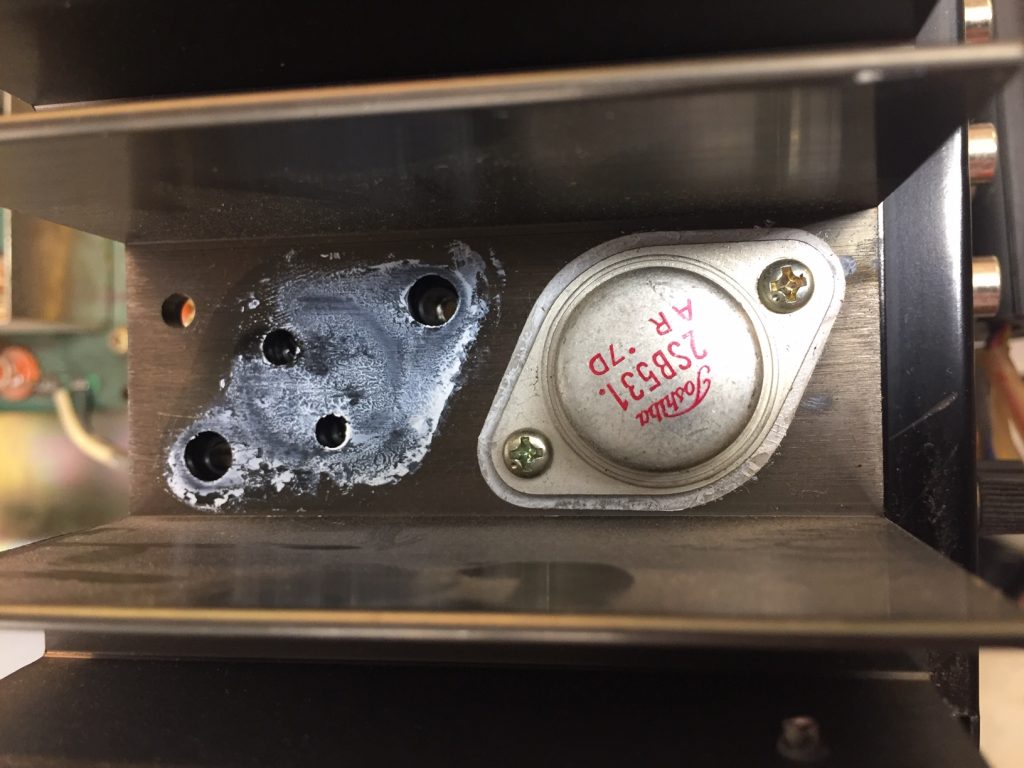
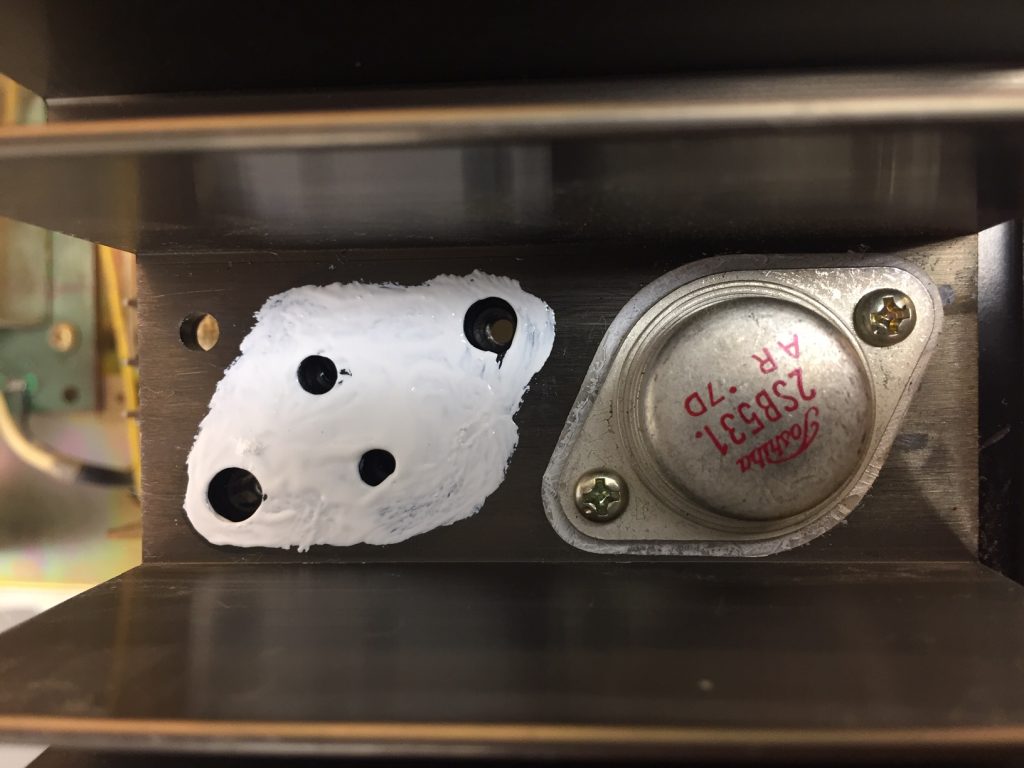
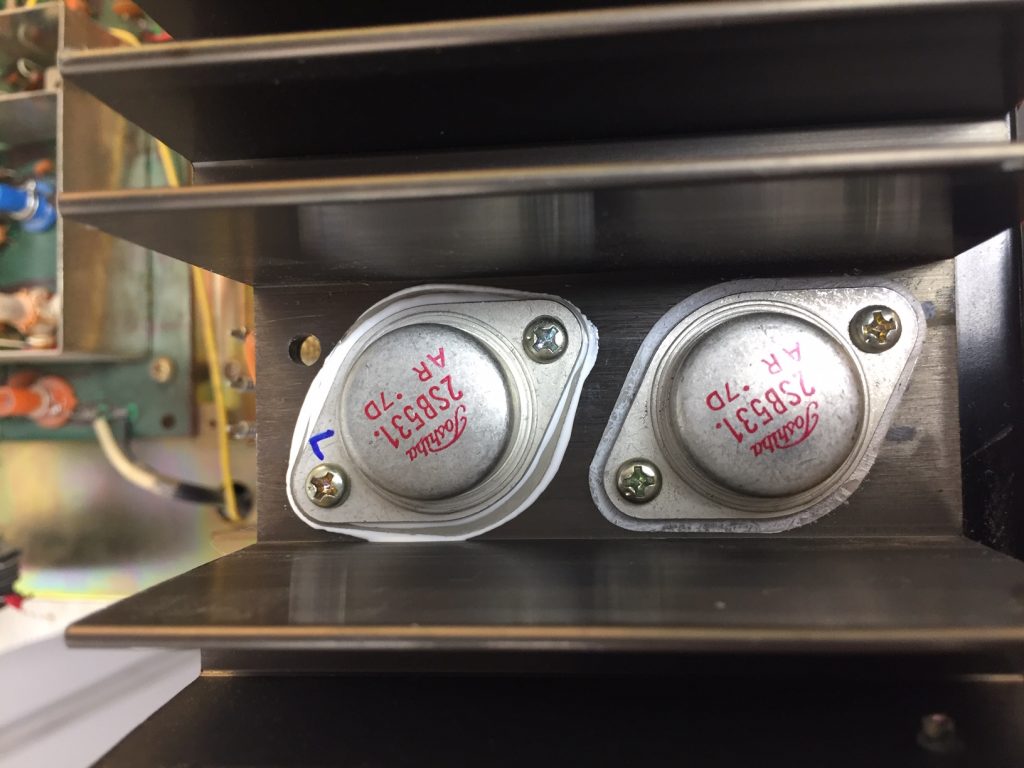
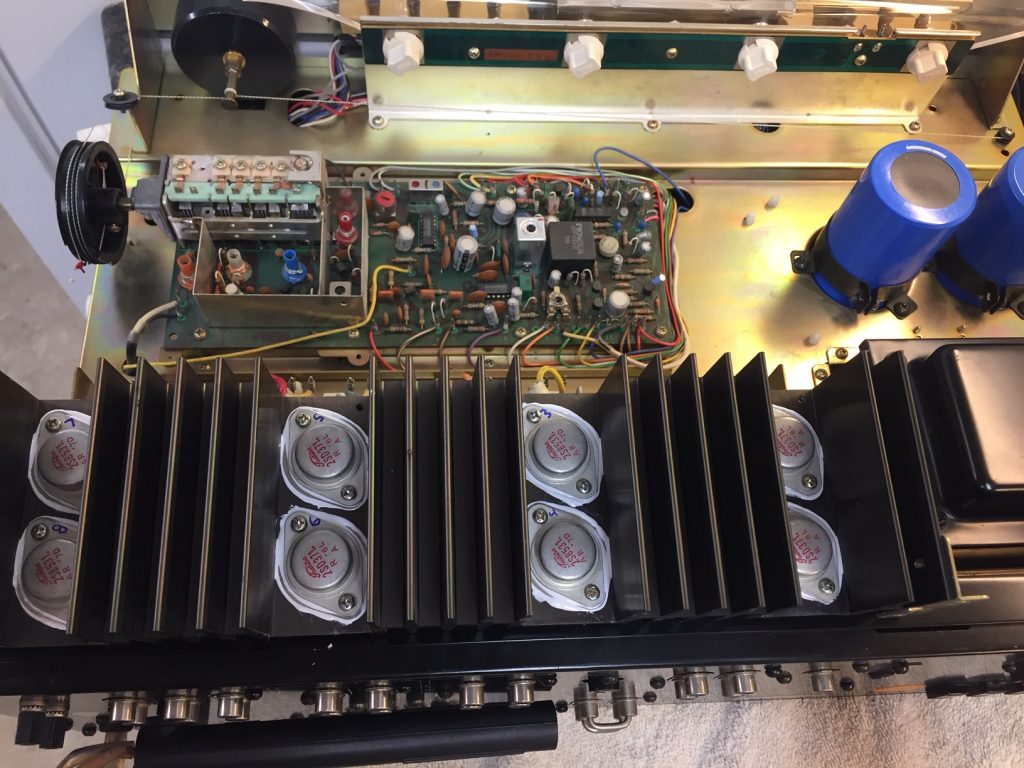
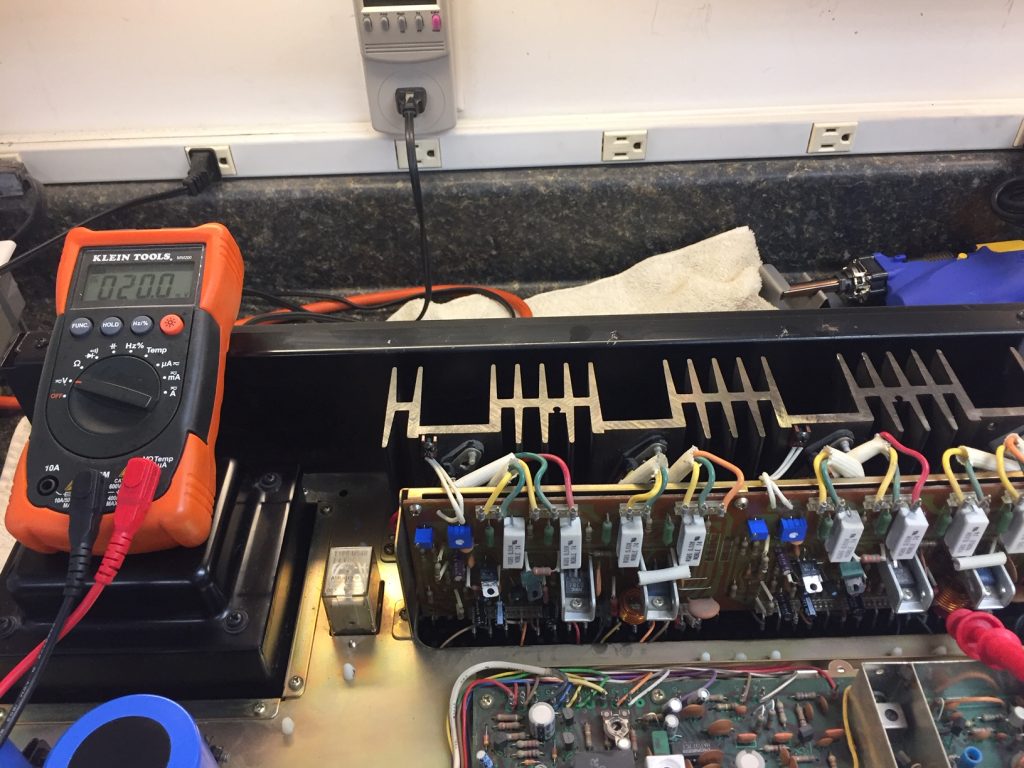
After completing the recap of the amp board, cleaning and reinstalling the output transistors and installing the new bias and offset pots I set the bias and offset. The new pots allow for much more accurate adjustments. The VR1 and VR3 were easily set to 0 volts and VR2 and VR4 were easily set to 20mV as specified in the service manual. There is still a bit of drift as the amp warms so I made the final adjustments after about 20 minutes. If you have a SX-850 or 950 I highly recommend this modification as the factory pots are very difficult to use.
It Lives!
