
Do you have one of these Ring Pro doorbells? Fair warning – it turns out that although these do run on the voltage from your doorbell transformer they do have a battery that will fail. I have had one of these installed for just over 2 years and a few days ago I was going to review my daily cat trespassing videos and noticed that it had not captured anything for a few days. Upon investigation I found that it was dead. I mean dead, dead.. Having paid about $200 for the thing I was not very happy. Seems that I always default to total cost / months of operation.. The wife hates that.. Anyway, I took to Google and found that there are a lot of unhappy Ring Pro owners that have dead doorbells. I also found out that these do have a LiPo 3.7v battery to provide power during the moment that the doorbell button is pushed. Having used LiPo batts in my RC planes I know that they work great until they puff and then its game over. Below are some pictures and links that should help you replace the battery and get it going again. If you can’t or don’t want to take this on just shoot me an email and we can work something out.

Hopefully you were the one that installed the Ring on your house so you know how to easily remove it. If not, know that you will need the special orange handled tool to take the bezel screw out of the bottom of the unit. Once you take that out the bezel just slides off. Then take out the top and bottom screws and then disconnect the 2 wires from the screw terminals.
Now you will want to take the 4 screws out of the corners so the real fun can start. I won’t go into the details as you can find a great step by step write up at the following site
https://www.ifixit.com/Guide/Ring+Video+Doorbell+Pro+Battery+Replacement/119125
Additionally you will need the replacement battery. Here is a link to the one I used. It is a 3.7v 200 mAh LiPo battery with JST connector (which you will remove later). Pretty cheap at $6.49..
https://www.amazon.com/gp/product/B07C9R84QS/ref=ppx_yo_dt_b_asin_title_o01_s00?ie=UTF8&psc=1
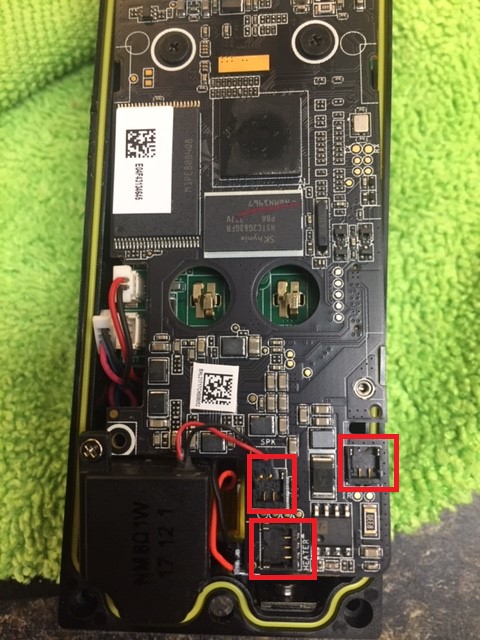
Just a few points of clarification as a result of my learning. The connectors shown in the red boxes require you to lift the plugs straight up. Do not pull back on the wire thinking that it unplugs. Use a micro screwdriver to pry under the plug and it will just pop off. Keep track of the different plugs and where they connect.
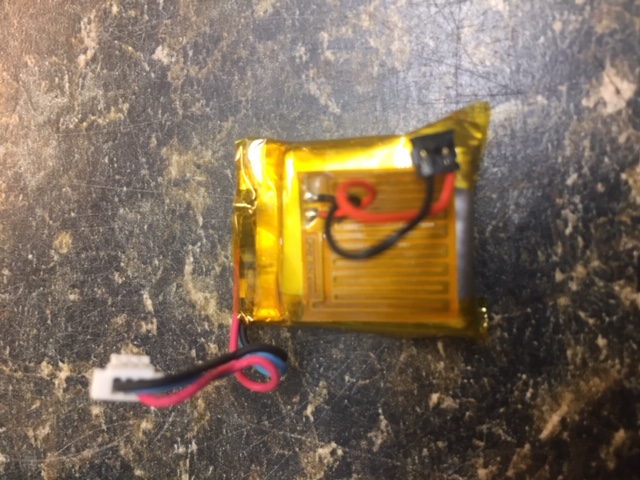
Ok – Sorry for the blurry picture of the old battery. It is very important that you carefully remove the yellow tape and VERY carefully remove the wifi antenna. Try to save the tape as you can reuse without issue. The tricky bit is the desolder of the charging board and soldering to the new battery. I actually cut the battery leads and then just soldered the leads of the new battery to the charging board that came from the Ring. Pretty tight soldering job but you handle it. Be sure to wrap the new battery and circuit board in the yellow tape and attach the wifi antenna. Put it all back together and you should have a working doorbell..