
As you can see the crossover looks pretty nasty although I can say that they are working without issue. In a previous blog I mentioned that I had to replace one of the mid drivers because it had been replaced with a Peavey unit. I found a K55M driver and successfully replaced. I then moved the Lascalas up the stairs (no easy task and thanks Marshall) and gave them a few weeks of listening while I tried to figure out what to do next. I spoke with Michael Crite of critespeakers.com after seeing his name mentioned everywhere and he was very helpful and pragmatic. His suggestion was to start with simply recapping the 29 year old crossovers with new Sonicap poly film capacitors and then decide if I wanted to go further. If you have researched the Heritage series of Klipsch speakers at all you will know immediately that there are MANY people modifying these speakers. So many, in fact, that it had me wondering why since these are supposed to be an “amazing” speaker. After my relatively short time listening to these I can say that they have fantastic mids and provide a fantastic sound stage. I do believe they have 2 weaknesses that I immediately noticed. First, they do not have good bass. By themselves they sound thin despite having a 15″ woofer in the doghouse. Of course this can be addressed by partnering with your favorite sub, but be prepared to spend some time trying to get your sub to blend well. Second, these speakers really only sound good once you crank them up a bit. These things are capable of some crazy db levels. Its a bit like owning a Bugatti – you know it will do the extreme and it is always a huge temptation to do so. On this point my wife also had the same opinion – they sound really good once you open the throttle to 90db or so. Enough of my blathering tho – lets recap the boards.
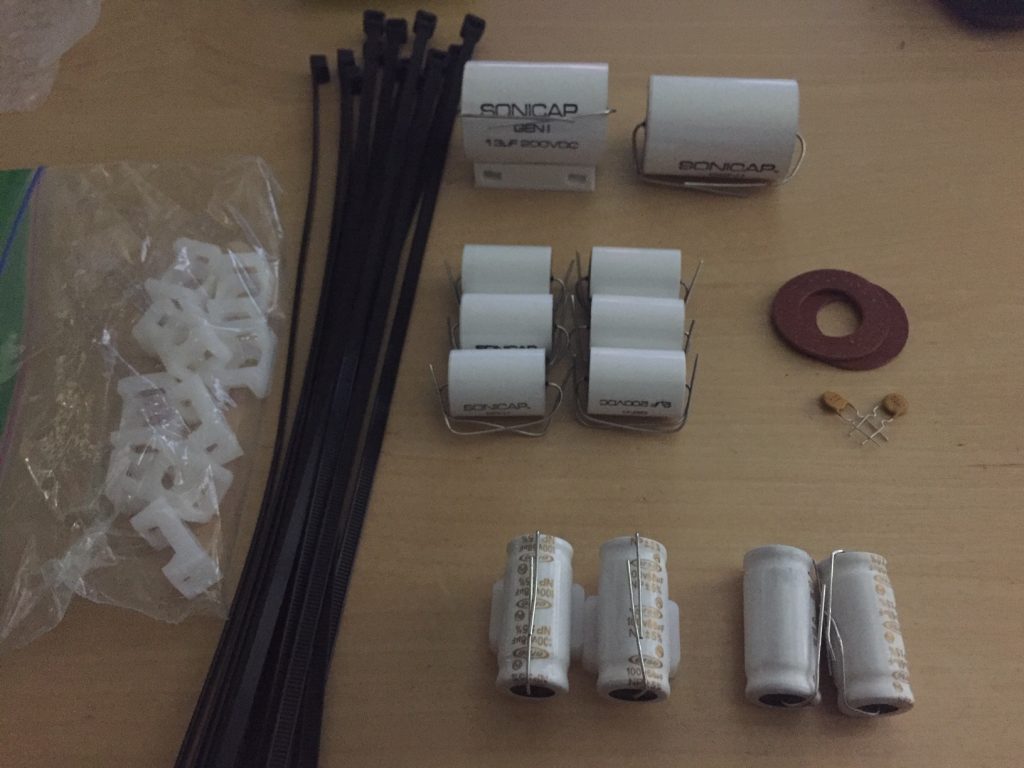
I ordered the recap kit from critespeakers.com and it came with 2-13uF @ 200v, 6-2uF @ 200v, 2 Ersa 68uF and the plastic saddles. This should be a pretty simple job of replacing the old with the new.
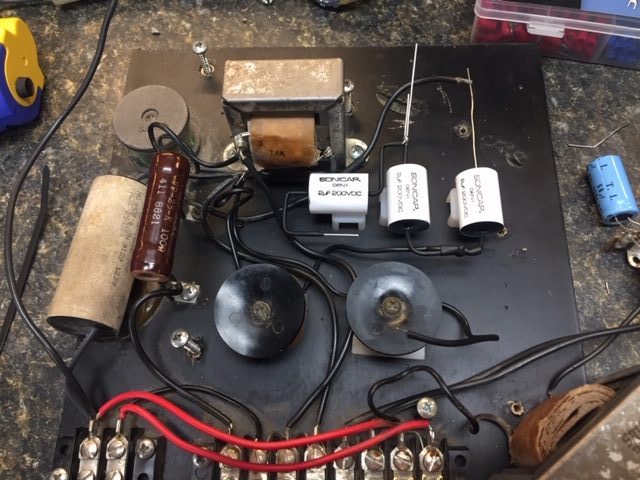
I found it easiest to first cut out the old caps in the center and then start working towards the outer edges. I also wanted to avoid creating new screw holes, but eventually did for some of the saddles anyway. I first moved the inductors and transformer out of the way and then swapped out the 2uF mid and tweeter caps.

I then swapped out the 68uF caps that are in the woofer path. Notice that a lot of heat shrink tubing was used. I found the best way to shrink the tubing was to cut to the desired length and then take it over to a stationary heat gun. I also tried to use as much of the stock wiring at stock length as possible since I am trying to keep the overall modifications to a minimum.
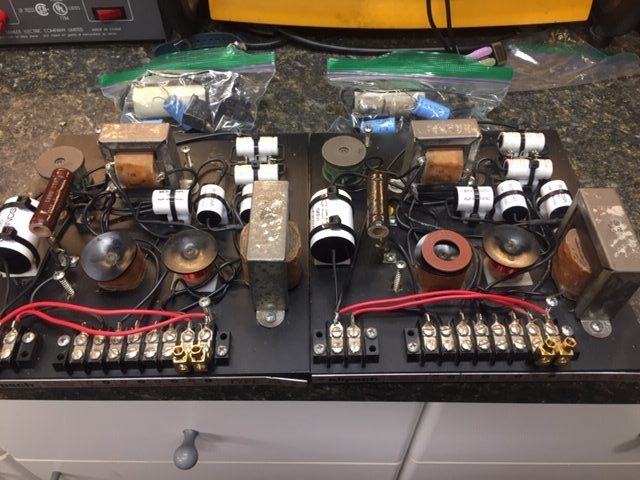
I think I have a total of about 5 hours spent to disassemble, clean and recap the boards. I look forward to listening to them for a while before the next phase of the project proceeds. Once it cools off I will fully disassemble the speakers and we will start on the cabinet refinishing. Stay tuned as it should be interesting. I plan to laminate 1/4″ birch plywood to the outsides of the cabinet to add stiffness and to provide a really good bonding surface. Then I will then add some type of veneer to make them pretty. Now I know some would say that what I am doing is defiling the originality but since I have little $$ in these I feel comfortable doing what I will call a resto-mod upgrade. There is no reason why these boxes have to look like big plywood boxes. I also think a darker finish will make these blend into a home theater/music room type of setting. In preparation for this I have been studying the veneering process and am seriously considering building a vacuum press system since these speakers are so big.. So many things to consider and so many to learn…